Dance Central 3 – Kerith & Jaryn (The Glitterati – Haute Blooded) [COS]
 |
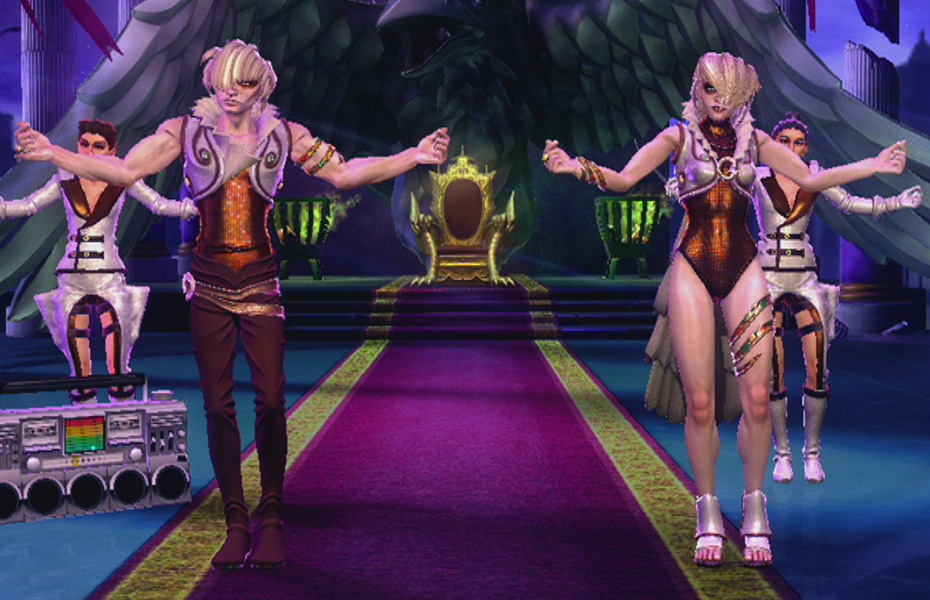 |
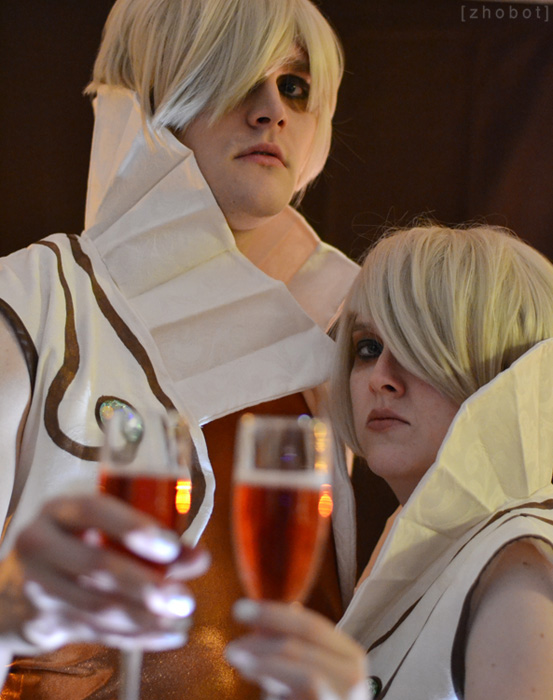
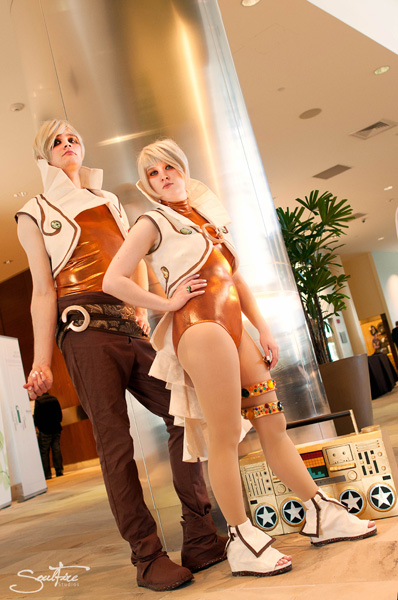
In October 2012, as the release date for Dance Central 3 grew closer, Nate and I were worried our favorite snarky twins wouldn’t be making an appearance. Luckily, they did! It was a small one in story mode, but it’s there and it’s pretty saucy like The Glitterati pretty much always are. Their new outfits were absolutely fabulous and we had no idea how we would make them but we wanted to make them so bad. We told ourselves: SOMEHOW.
For the next couple months, we collected materials and brainstormed ideas, hoping to have them done for Katsucon 2013 in February (hahahaha, didn’t happen) but didn’t end up finishing them until PAX East 2013 in March. We were glad we pushed them off though because there were so many little details we wouldn’t have been able to add if we tried to rush them for Katsucon. So like we did with the DC2 Crew outfits & Street Style outfits, here is our post detailing the adventure we had putting these costumes together! We’ll go piece by piece like we did with the Crew outfits blog post.
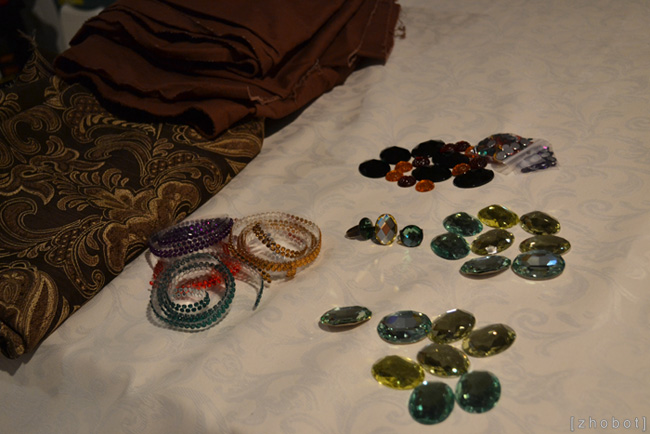
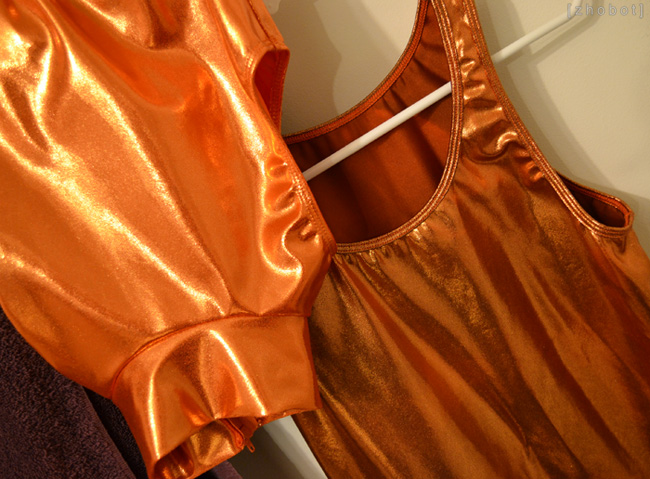
SHIRT/BODYSUIT: Kerith’s shirt and Jaryn’s leotard came from a place that has saved us a good number of times when it comes to spandex costume pieces: River’s Edge Dancewear! The pattern for the leotard had to be modified with a higher neckline when they made it, but they had the two items that were closest to what we needed and could be made in a fabric that we could work with for these pieces. We got 12 different fabric samples from different places (you can see some of them below) – some weren’t the right color, some weren’t shiny enough, some could possibly work – because we thought we might have to try our hand at making the shirt & leotard ourselves. (I’ve never sewn a leotard before so I was veeeeery nervous.)
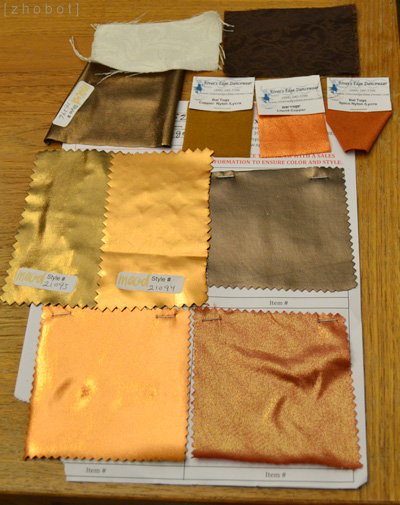
One of the fabric samples we got from R.E.D. was used in our dye test bath just in case the dye might take and it would turn out closer to the shade of their shirt/leotard (because none of the fabric samples were exactly right). Luckily, the dye did take and luckily it was closer to the color of their clothes! This meant we could order the shirt/leotard from R.E.D. and dye them, which is exactly what we ended up doing. They’re actually pretty comfy too and all the shiny we need! AND WE DIDN’T EVEN HAVE TO SEW ANY SPANDEX, HUZZAH! Below is a shot of the leotard and shirt – Kerith’s shirt had been dyed but Jaryn’s leotard hadn’t yet.
VESTS/COLLARS: We looked long and hard for a fabric that was the right shade with a pattern similar to the one on their fabric. What we found that ended up working the best was a home decor fabric! It was the right weight and had a good pattern so we ended up buying numerous yards (waiting for a sale to hit before we purchased!) since we knew we would need it for the vests, collars, Jaryn’s shoes, and also her waistcape.
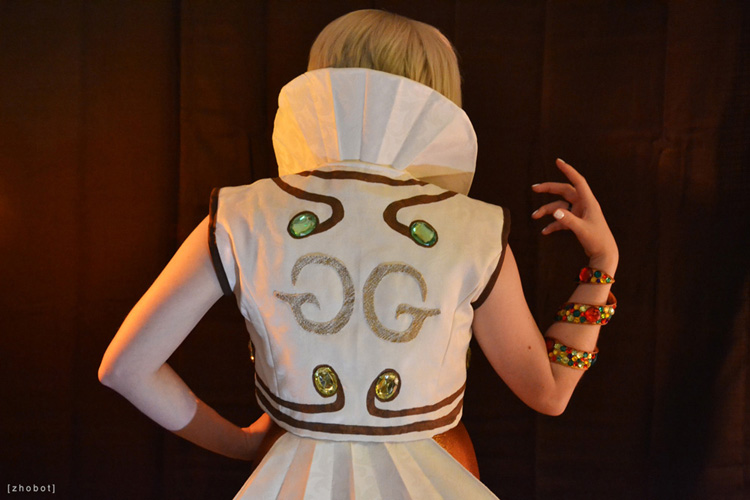
I took a pattern for a jacket from a historical costume, modified it, and sewed it without the sleeves for our vests (making mockups in muslin first to make sure we had the right fit for each of us). The lines were all handpainted on with a dark copper fabric paint and the GG logos on the backs were embroidered on a thicker fabric in a multi-colored metallic floss and then cut out and attached to the vest. We were going to embroider them straight onto the vests but we ran the risk of them messing up so we wanted to make sure they came out okay before they went onto the vests! The gems attached to the vest had to be color-matched to our rings so it was fun searching for those! The green ones on the front of our vests are Swarovski crystals whereas the others (the greens on the back and all the yellows) are all plastic. We wanted to put the fanciest ones in the front, haha!
The collars were measured, cut out, and pleated very carefully by Nate and then I sewed them onto the vests. It was hard making them work because they needed to stand up but they also needed to be pleated, so there was a lot of trial and error with scraps and different types of interfacing. More on how the collars came to be can be found in the next section!
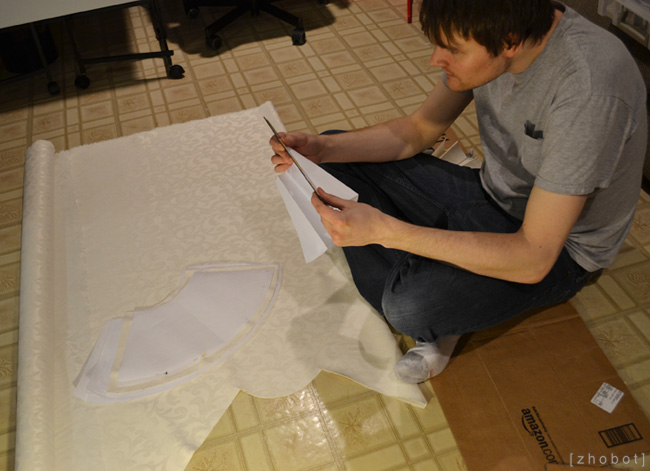
JARYN’S BUTTCAPE: I LOVE BUTTCAPES. Nate was the saving grace with this as well as the collars. He took to figuring out the pleating like a champ and I’m extremely grateful for that because I was still sewing vests and working on painting the details on them. He made sure to measure the length out correctly so it would match my short fry self and not Jaryn’s fabulously tall frame and then drafted out a pattern and cut the pieces out of the fabric as well as Decor Bond, which would be what helped hold the pleats on both this and the collars (many thanks to Lin for the help discovering tutorials and such on this – LIFE SAVER <3). Nate ironed all the decor bond on and I hemmed all the pieces (4 sides on all 8 pieces), sewed the pieces together (to make 4 fans with 2 sides of pleats), and then sewed the 4 fans to a long piece of tulle so they all stayed together. I added some armholes to the tulle after that and slipped it on under my vest. I got lucky there cause I had no idea how I was going to attach it to myself or the vest without weighing down the vest.
P.S. Have I ever mentioned how much I love butt capes?
KERITH’S PANTS/BELTS: I have never made a pair of pants in my life so I was extremely nervous about making these, especially since they’re fairly tight on Kerith (of course, thanks Kerith XD). We were going to look for a pair we could possibly modify, but with how specific the color of his pants matches the rest of his outfit plus all the design work along the top hem of them, we knew we’d have to try to do the whole thing. I made a mockup with a similarly weighted fabric and made them fit Nate before cutting out and sewing the pattern in the brown fabric. The front closes with velcro because we didn’t want to put in anything crazier than that for fear of screwing it up when we started doing the hem work at the top of the pants (the two layers of fabric and the curved hem).
As for the belt, another hit in the home decor fabric section! We knew Kerith’s belt(s?) was/were brown with a faint pattern on it and when we saw this fabric it just screamed to us to use it for the beltpiece. It was very thick and frayed a lot, so we ended up lining the edge with brown bias tape, which actually worked out in the end because it kind of looks like there’s a brown trim on his belts. Since the belts sag on Kerith we had to make them sag on Nate, which meant there was a trusty safety pin or two holding them onto Nate’s pants.
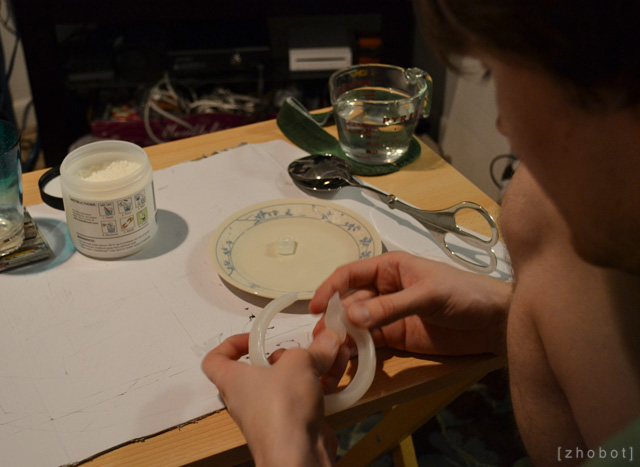
G BUCKLES: My sister had gotten some InstaMorph moldable plastic for me for Christmas one year and for the longest time it sat on my worktable because I wanted to use it for JUST THE RIGHT THING. Basically, you heat up the little balls of plastic in hot water and then mold them – they dry in whatever shape you mold them and can be remolded with hot water. As Nate and I stared at the buckles on Jaryn’s vest and Kerith’s belt, my mind went to the InstaMorph. It would be lighter than certain types of clay, more heavy-duty than paperclay – it would be just what we needed! Nate fiddled around with shaping it and I tested out some paint on it and when we figured out that it would be perfect, Nate sculpted the G’s and added the pins to the back then I painted both of the buckles.
ARM/LEG PIECES: Nate measured our arms and my leg and patterned out these pieces out of Worbla. He attached thin flat strips of wire on the insides and then shaped the pieces so they would fit. I painted them with layers of bronze, gold, and a slight tinge of silver paint and then glued all the gems on each piece – I think this is probably the part that took the longest. I was still finishing up my leg piece the night before we wore these costumes at PAX East. SO MANY GEMS. I was worried about keeping the leg piece up on my leg while walking around, but I ended up sewing velcro to the tights I was going to wear and gluing the opposite pieces into the inside of the leg piece and it stayed up just fine! Phew.
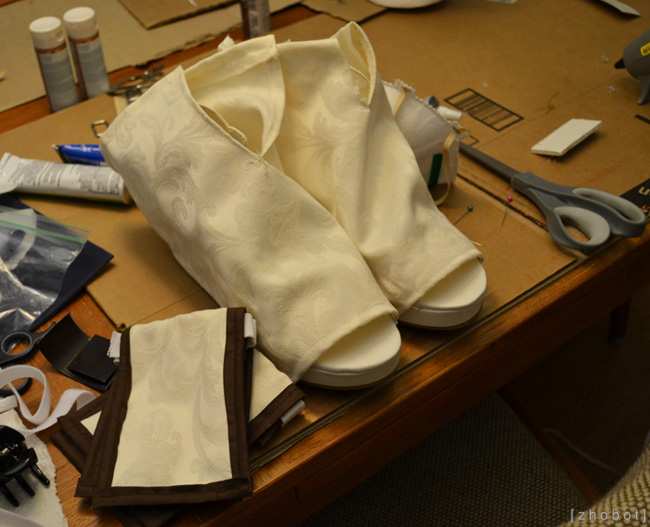
SHOES: THEIR SHOES. HOW DO THEY DO ANYTHING IN THESE SHOES? Kerith’s shoes look like they’re a piece of his pants – like the tops just meld into his pants. So Nate had to cover a set of cheap slip-on shoes he got in the same fabric as his pants and build up the top so it reached over the pants. I took a pair of platform sandals – I used the fact that I had to cover them as an excuse to give myself a couple of inches since Nate is so tall! – and covered them in the same fabric we used for the vests/etc. Jaryn has these flaps on her shoes around her ankles in the front and back and I made those a separate piece from the shoes so I could slip those on and then put the shoes on under them. I added brown trim to those which was the same trim we glued around the bottoms of both pairs of shoes. The crystals that you can see on the bottom rims of the shoes are actually drops of different colored glitter glue. We were going to glue crystals to them, but we didn’t have time and figured glitter glue would be just as shiny (and cheaper :D)!
MISCELLANEOUS: The wigs are new/different wigs than the ones we use for the other two outfits – their hair is longer in this game and styled differently. Wigs are our enemies so these are one of the things we kept putting off because we were worried about them. They need to be poofier, but we are satisfied with the way they came out! The face makeup takes less time to do than the cheek lines from the other two outfits but we had a grand old time finding just the right shade for the eyes and ended up using an orange color with some gold-dusted over it. Also concerning makeup, white nail polish will always remind me of white out. The rings were made with pieces we found at the craft store!
 |
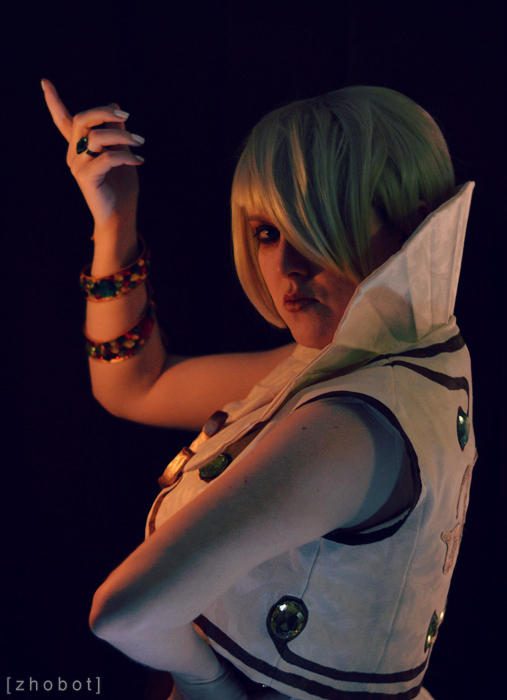 |
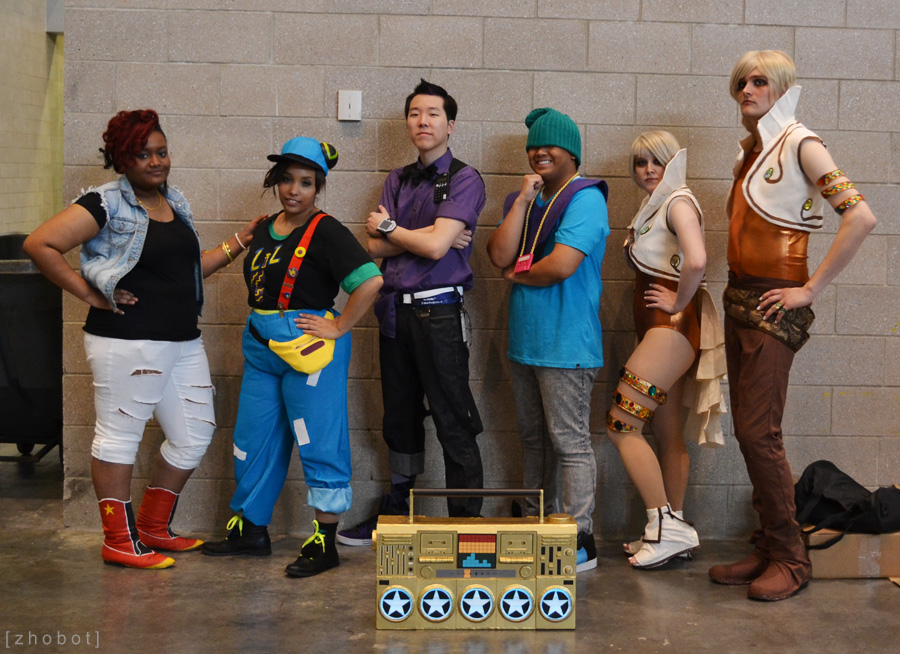
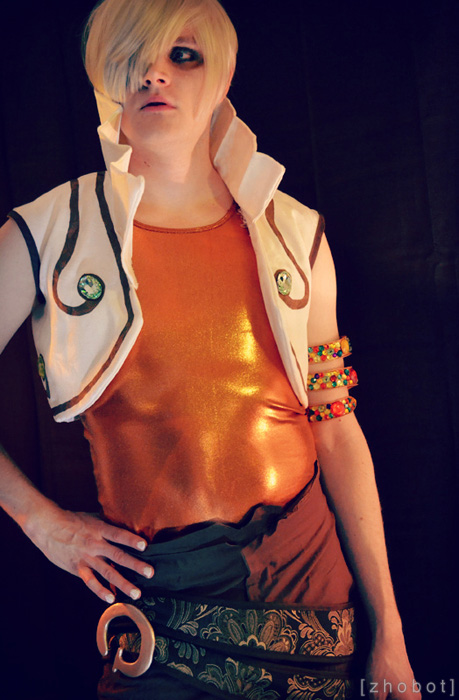
Overall, we are extremely excited with the way these turned out! Usually, there are things we end up wanting to fix on our costumes but when we look back at photos of these we just end up going I CAN’T BELIEVE THIS IS US (maybe we need to redo the shoes) BUT STILL. We’re really happy we made these and look forward to wearing them again!
