Saints Row Flag from scratch! [DIY]
NOTE: This is a repost from 2013 from the original Zhobot blog. We figured since the Fourth of July was coming we would repost this in case anyone wanted to make their own United Saints of America flag from scratch!

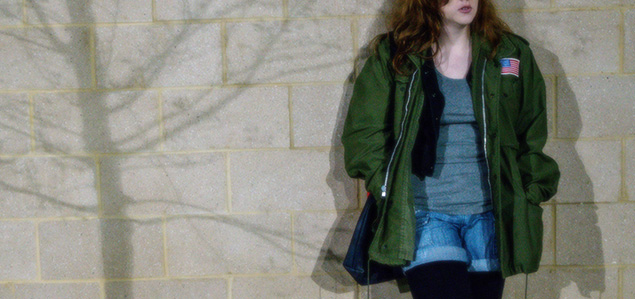
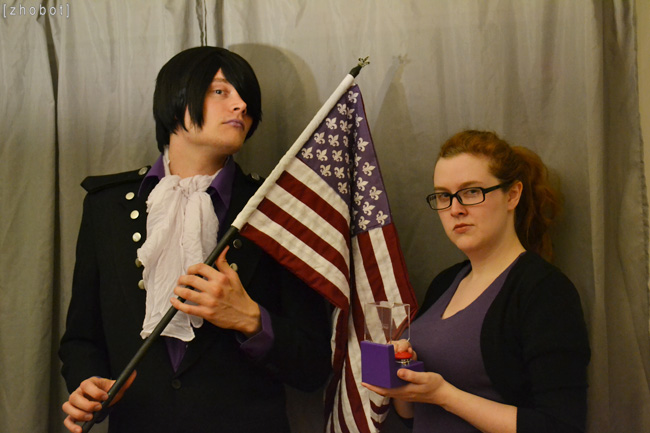
Back in June, with the help of usual Zhobot guest Bria (of White Hot Room), we made the front piece of the flag seen in some of the Saints Row IV promo images! We wanted to use it in some Saints Row cosplay photos like the one seen below!

We were going to make both sides, but due to the time constraints when we made the one side, we only ended up putting a red backing on it. We thought maybe a tutorial would be helpful if there was anyone else out there who wanted to put one together, so it’s time to finally sew the other side of the flag (and add some fun things like a flagpole and so on).
What you will need:
– 3/4 a yard of dark red fabric
– 3/4 a yard of white fabric
– thread
– sewing machine
– dowel for flagpole (optional)
– piece for the top of the flagpole (optional)
– spraypaint for flagpole (optional)
– epoxy sculpt or paperclay (optional)
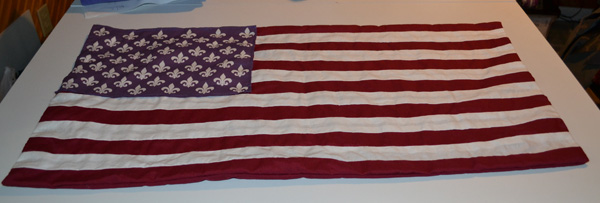
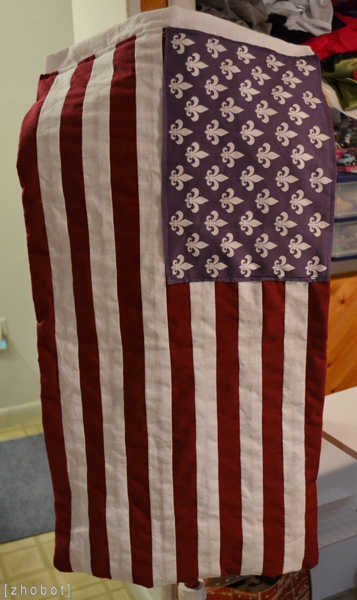
This is what I had for my flag when I started this tutorial (after taking the red backing off). I will be going through making the opposite side of my flag. Follow the instructions for this side and then make the other side with the blue area where it’s supposed to be – you’ll see what I mean as we go along!
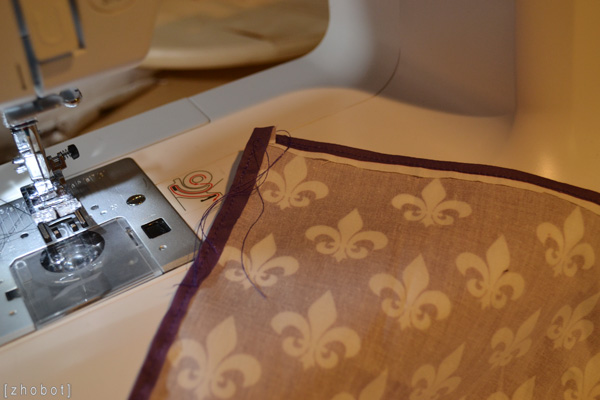
1.) There might be a different way you want to do this part, but I made a purple-ish blue fabric with the Fleur-de-lis/Saints symbol on Spoonflower. It’s up to order if anyone wants to just get the one I used. If you get a fat quarter (21″ by 18″), it’ll be enough to make the blue pieces on both sides of the flag (and there will be spaces between the sets of symbols where you need to cut).
Just cut the two full rectangles of symbols out on the left (leave about a 1/2 inch to an inch of extra so you can hem it) and hem them and you have your blue sections taken care of!
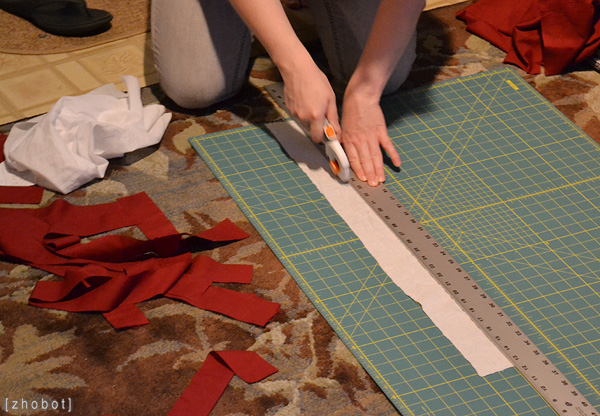
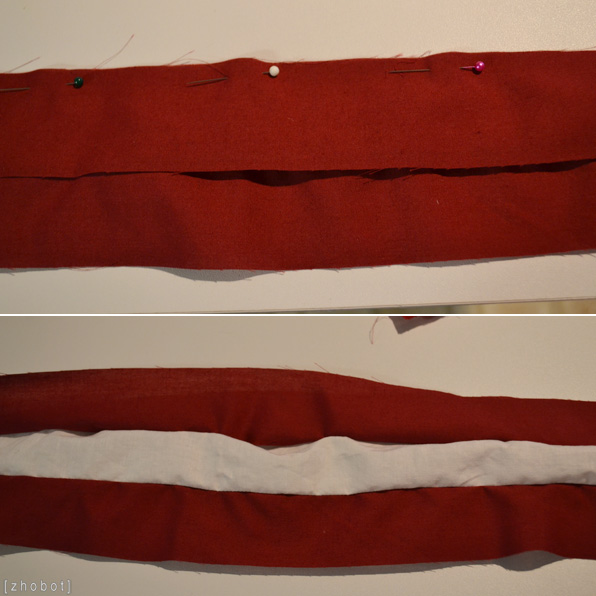
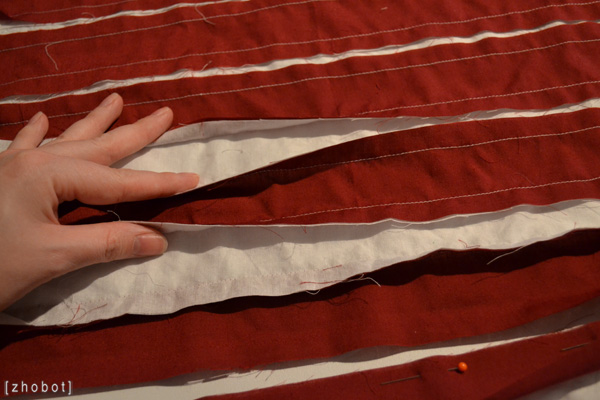
2.) Next you’re going to want to cut 7 strips of dark red fabric and 6 strips of white fabric. They should be about 32 inches long and 2.25 inches wide.
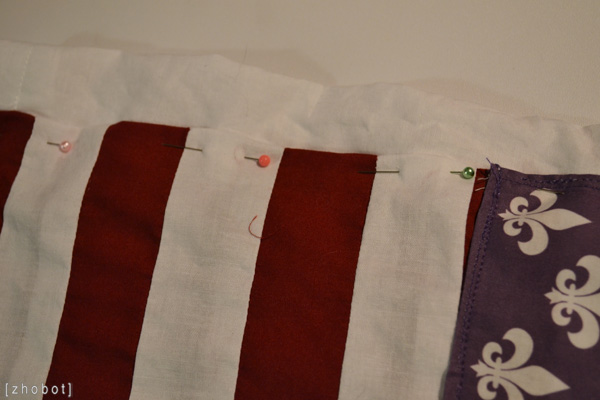
3.) Pin the stripes together and sew down each pair of stripes with a 1/2 inch seam allowance.
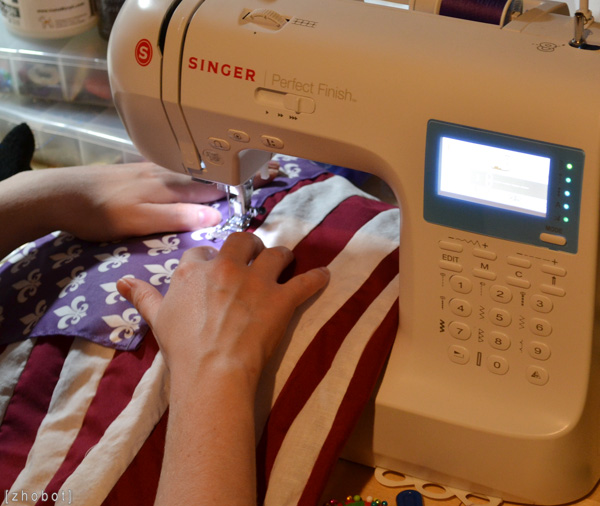
4.) Pin the blue (purpleish blue XD) section in the upper corner of your flag – left or right, depending on what side you are currently working on. Since I was making the back of my flag, I pinned and sewed mine onto the upper left corner. Sew down the section on your flag.
5.) This is where you’d repeat everything for the other side! The only change will be where you place the blue section. The piece on the front of the flag needs to be on the upper left and the piece on the back of the flag needs to be on the upper right.
NOTE: If you wanted to do the optional steps for a flagpole, you would need to add the casing to the flag at this point (check below on how – you would need to check now since you would shut the opening of the flag differently with casing). If you don’t want a flagpole, then just keep going and move on to #6!
6.) Pin the two sides of the flag together – with the right sides together (so that the blue pieces are touching).
7.) Sew all the way around the flag with a 1/2″ seam allowance leaving a small space for you to pull the right side of the flag through.
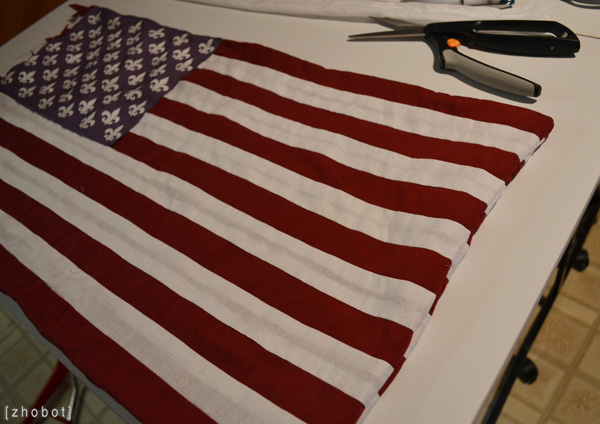
8.) Pull the flag through and make sure you poke all the corners out so it makes a nice rectangle. You’ll see below that my stripes don’t meet up with each other. I had to be creative with the backside of my flag since I was almost out of fabric – yours should be fine. ;D
9.) Iron the flag so it’s not all bumpy!
10.) Sew the opening shut whatever way works best for you. I didn’t include a photo here because I was putting in a casing on the side so I could add a flagpole.
Now, the next couple of steps are optional but we wanted to add a flagpole to our flag so it was easier to carry and pose with in photos. So if you want to add a flagpole, keep going with the steps below!
11.) Get a dowel – it’s up to you how long you want it to be. The thickness is up to you also, but remember you’ll have to fit the casing around it.
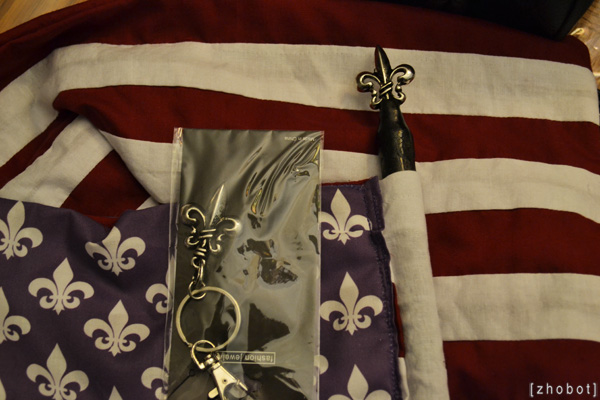
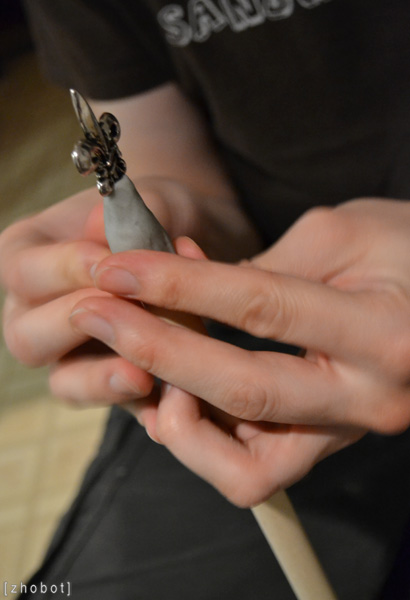
12.) We took some epoxy sculpt and a keychain of the Fleur-de-lis/Saints symbol, took the keychain part off, and attached it to the top of the flagpole. We have more of these keychains in the supply section of our shop if you’d like one to get one to use on your flag (you could use anything – it’s up to you!). Sculpt it to the top with something that air dries (epoxy sculpt, paperclay, etc.) and let it dry.
12.) Cover the symbol with painter’s tape and spraypaint the flagpole black. Or whatever color you want, really!
13.) Pin the right sides of your flag together so that the blue pieces are touching and sew the three sides of the flag together with a 1/2″ seam allowance, leaving the side where the casing/flagpole would go open.
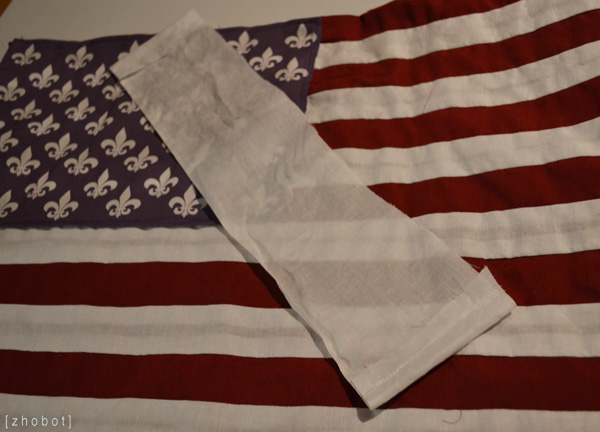
14.) For the casing, take a piece of the white fabric and measure it so it’s a little longer than the open side of your flag and will fit snugly around the flagpole (with space to sew it into the flag). Hem the top and the bottom of the casing.
15.) Fold the edges of the open side into the flag and fold the casing over. Pin the casing into the flag and sew it into the flag (this will shut the open side of the flag as well). It’s up to you what color thread you use for this part. I used white up until I hit the blue piece and then used the same blue thread I used to originally hem/sew the blue piece.
16.) There you have it!
Now you can take lots of goofy photos like we enjoy doing!
PLEASE feel free to contact us if you have any questions about the tutorial. I know it’s a little crazy and messy – but WE TRIED. XD